Instructions for Using Uncut Kinesiology Tape
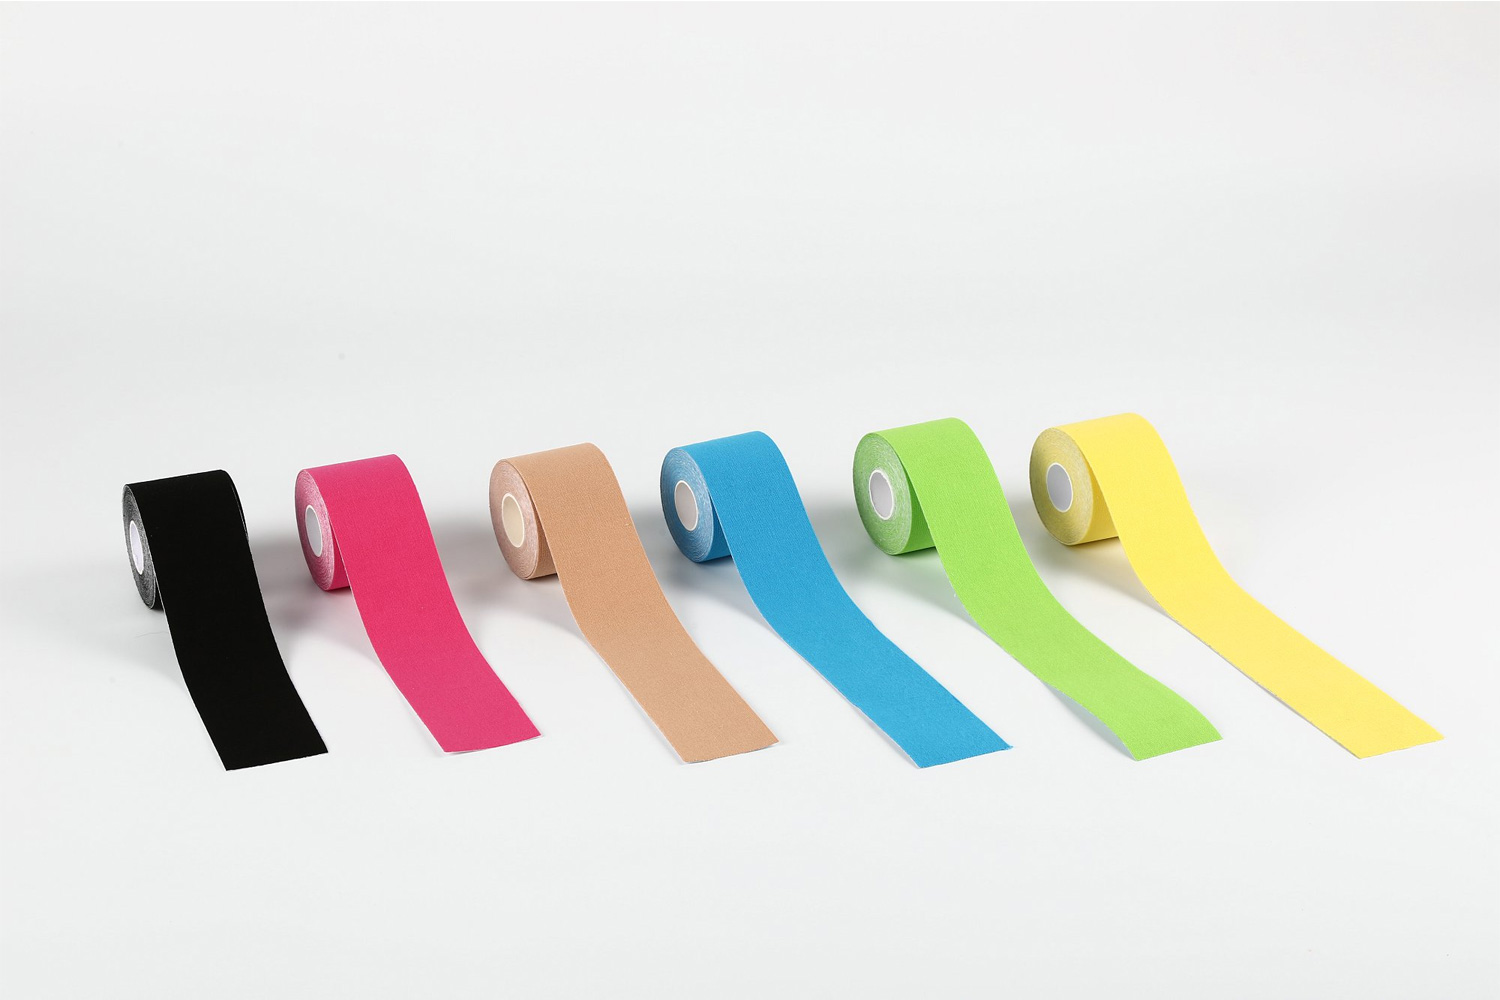
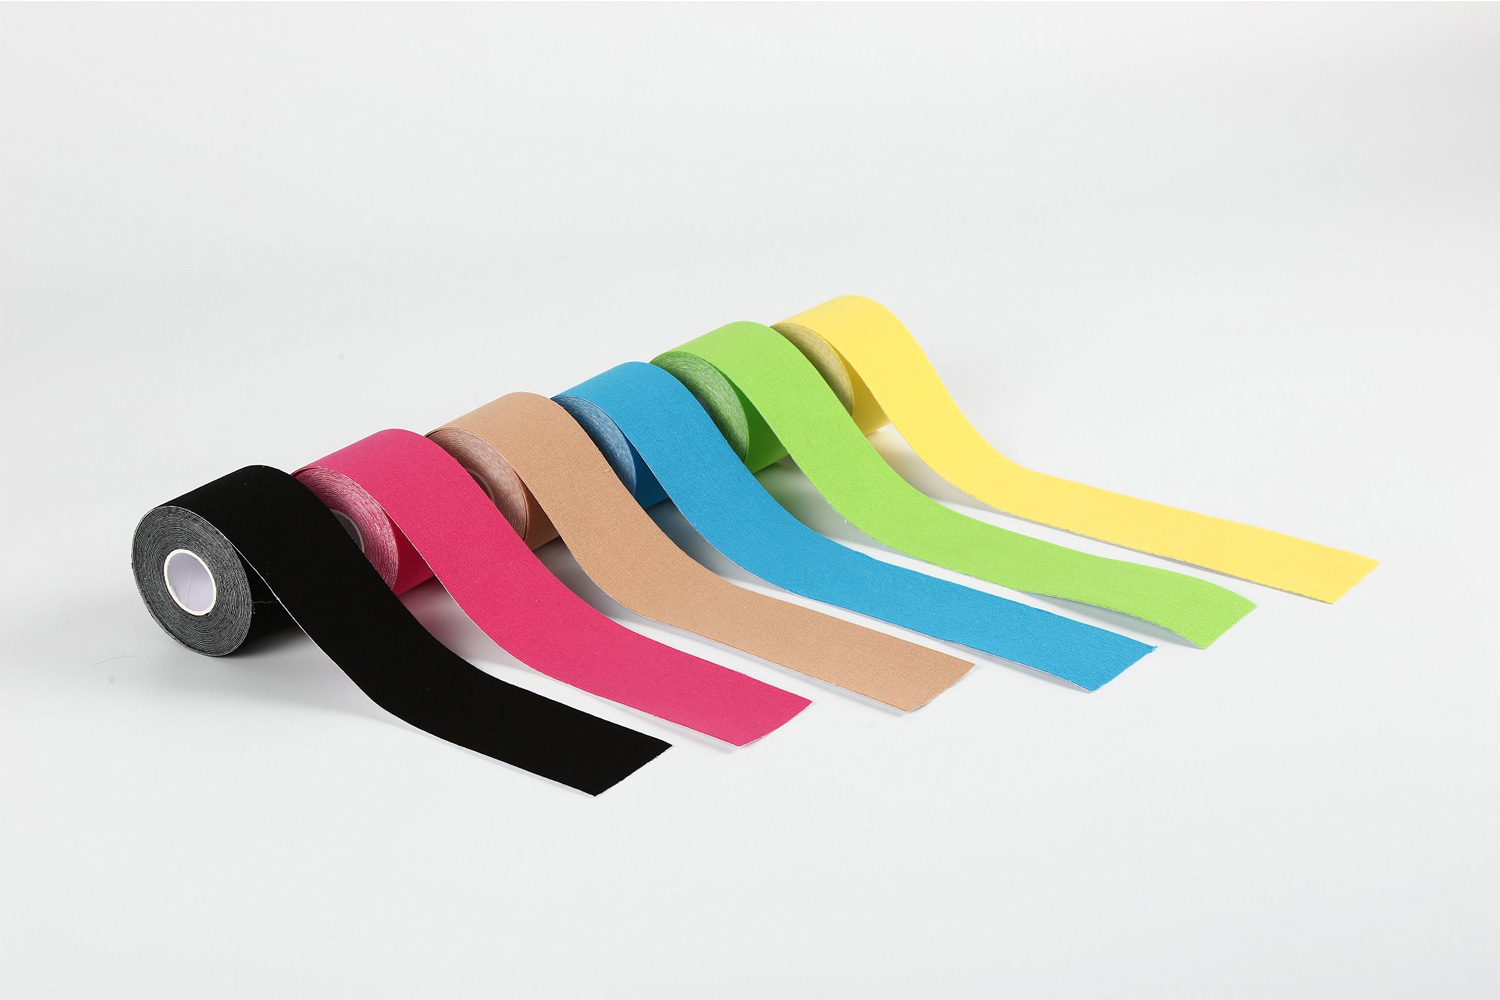
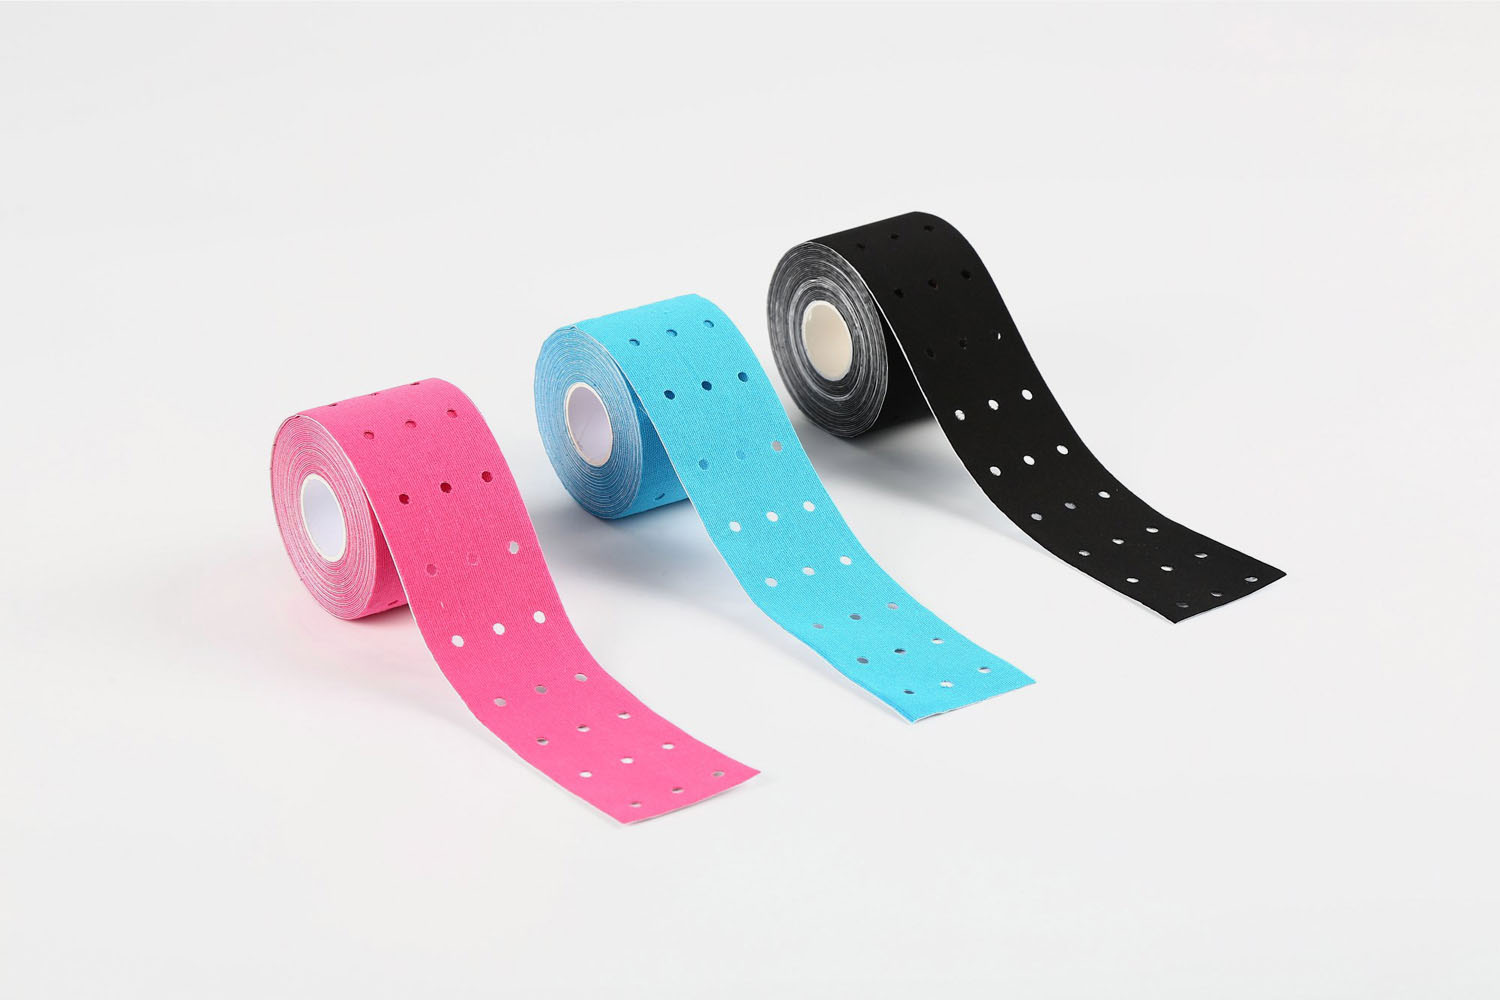
Uncut kinesiology tape is a flexible adhesive used for supporting muscles, tendons, and joints without restricting movement. It's important to apply the tape correctly for maximum effectiveness.
Here's a step-by-step guide on how to use uncut kinesiology tape:
1. Prepare the Skin
- Clean the area: Wash the skin thoroughly where you plan to apply the tape, removing any dirt, oil, or lotions. This will help the tape adhere better.
- Dry the skin: Make sure the skin is completely dry before applying the tape.
2. Cut the Tape (If Necessary)
Uncut kinesiology tape typically comes in long rolls, so you'll need to cut it to the desired length for your application.
- Measure the length: For example, if you're taping a knee, you might need to cut two strips about 10-15 inches long, depending on the size of the area being taped.
- Cut the tape: Use sharp scissors to cut the tape into the desired lengths. If you need specific shapes (e.g., "I" strips or "Y" strips), cut the tape accordingly.
3. Round the Corners
Once you’ve cut your strips, round off the corners with your scissors. This will prevent the tape from peeling at the edges too quickly.
4. Apply the Base of the Tape
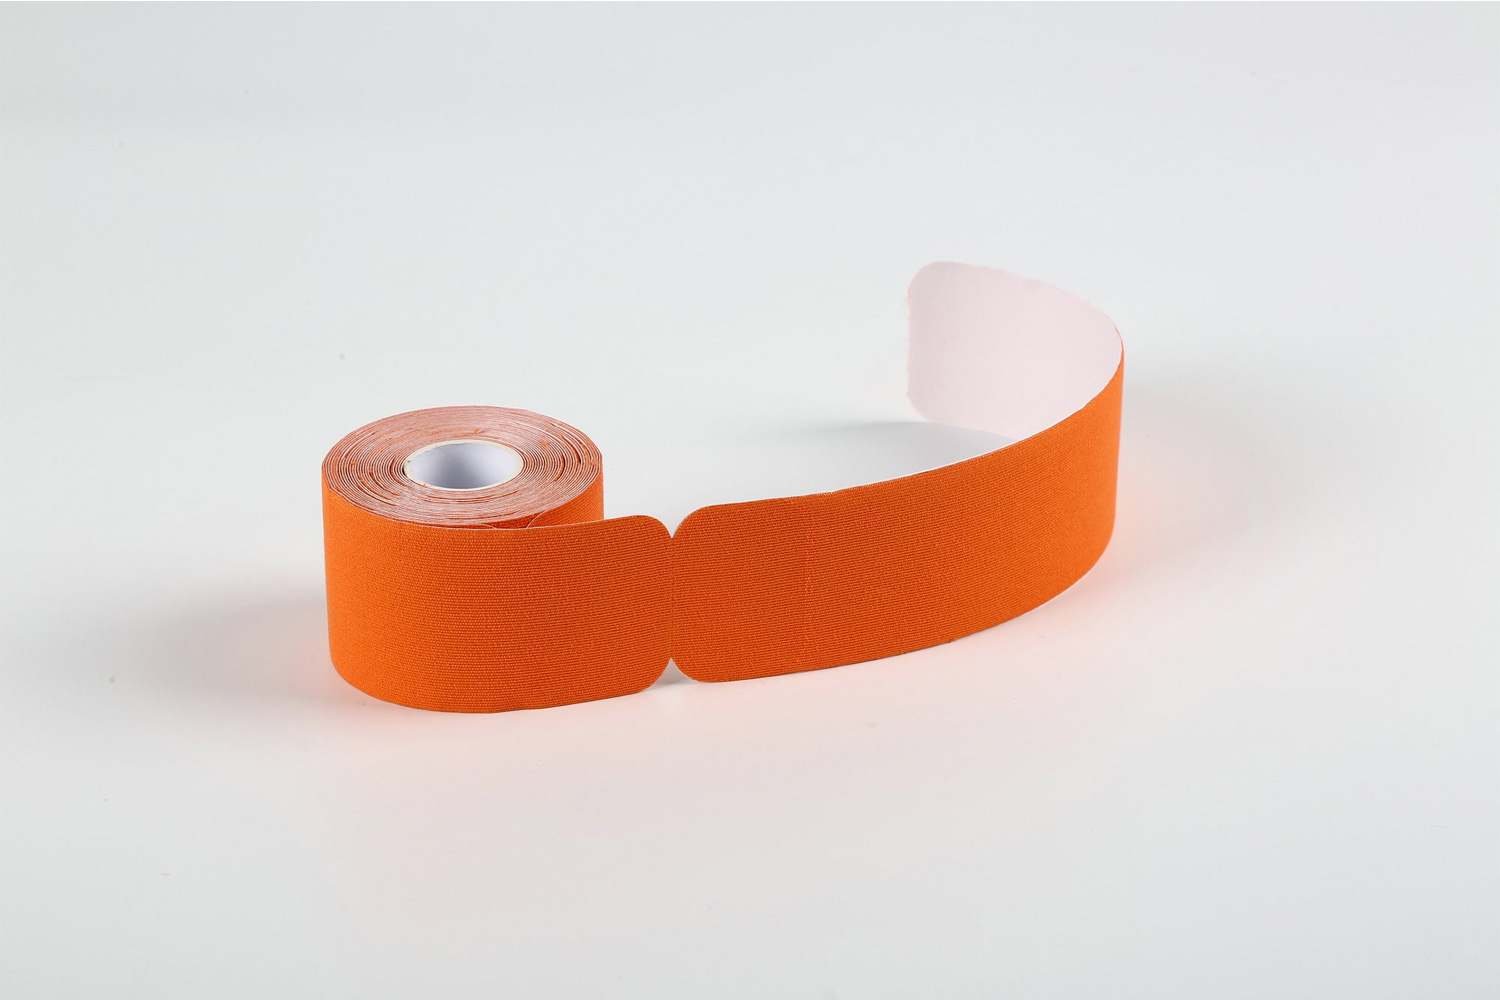
- Remove the backing: Start by removing about 2-3 inches of the backing from one end of the tape (just enough to attach the starting point to the skin).
- Anchor the tape: Stick the exposed end of the tape onto your skin, ensuring it's in the correct position.
- No stretch for the base: The initial part of the tape should be applied with no tension for the base of the strip.
5. Apply the Rest of the Tape
- Stretch and apply: As you continue applying the tape, gently stretch it to the desired tension. Kinesiology tape is often applied with varying levels of stretch depending on the area and purpose (typically between 10-50% stretch).
- Smooth out the tape: Once the tape is on, rub it gently to activate the adhesive. This helps it stick better and ensures it bonds to your skin.
6. Cease Stretching Before the End
When you reach the end of the tape, reduce the stretch and stick the final part down without tension. This helps ensure the tape stays in place and doesn't peel up at the edges.
7. Apply the Tape in the Correct Direction
If you’re targeting a muscle, apply the tape following the direction of the muscle fibers.
If you’re focusing on joint support, tape around the joint to support its movement.
8. Let the Tape Settle
After applying the tape, rub it gently to activate the adhesive. The tape should stay in place for 3-5 days, depending on the type of activity and the area of application.
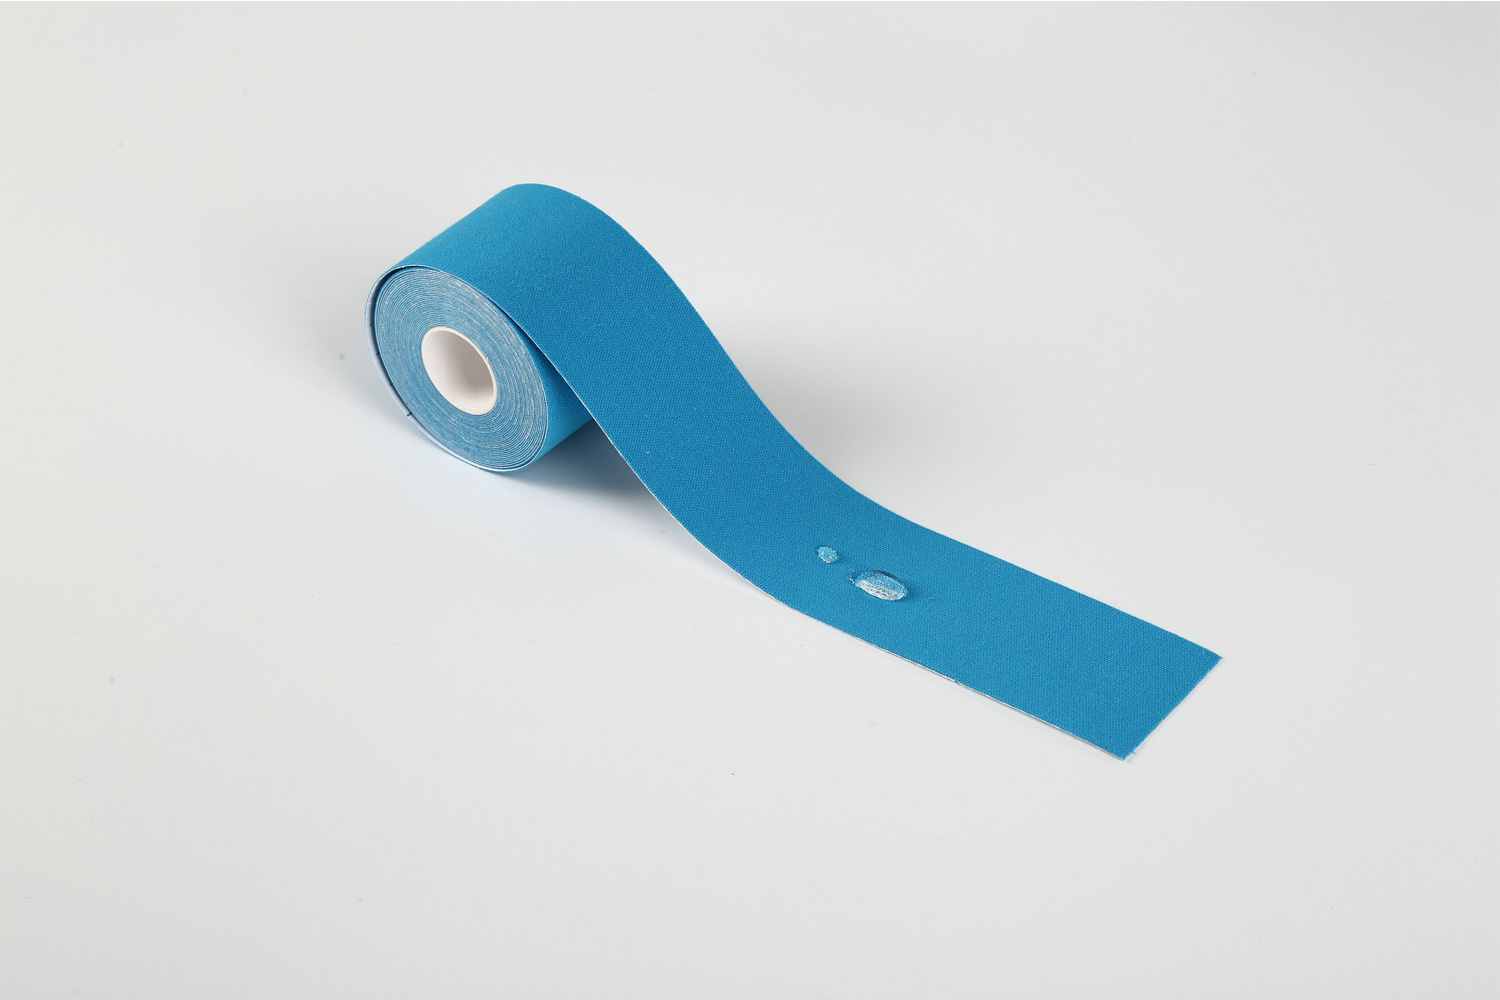
9. Avoid Moisture and Friction
To ensure that the tape stays on for as long as possible, avoid excessive moisture or friction on the tape. It's best to avoid soaking in water (like in a bath) or rubbing the tape against rough clothing.
10. Removal of Tape
When removing the tape, do so gently to avoid skin irritation.
You can remove the tape slowly, pulling it back in the direction of the muscle, or you can use an adhesive remover for a gentler experience.
Tips for Effective Use:
- Choose the right tension: The amount of stretch will affect the results. Too much tension can irritate the skin, and too little stretch may not provide enough support.
- Clean hands and skin: Make sure your hands and the area you're taping are clean to avoid transferring oils or dirt to the tape.
- Proper storage: Store your kinesiology tape in a cool, dry place to prevent damage to the adhesive.
By following these instructions, you can maximize the effectiveness of uncut kinesiology tape for muscle support, pain relief, or injury recovery!